
How I Make AI Videos — The Full Process, Warts and All
The exact step-by-step workflow I use: from idea setup to final edit — including the mistakes worth learning from.

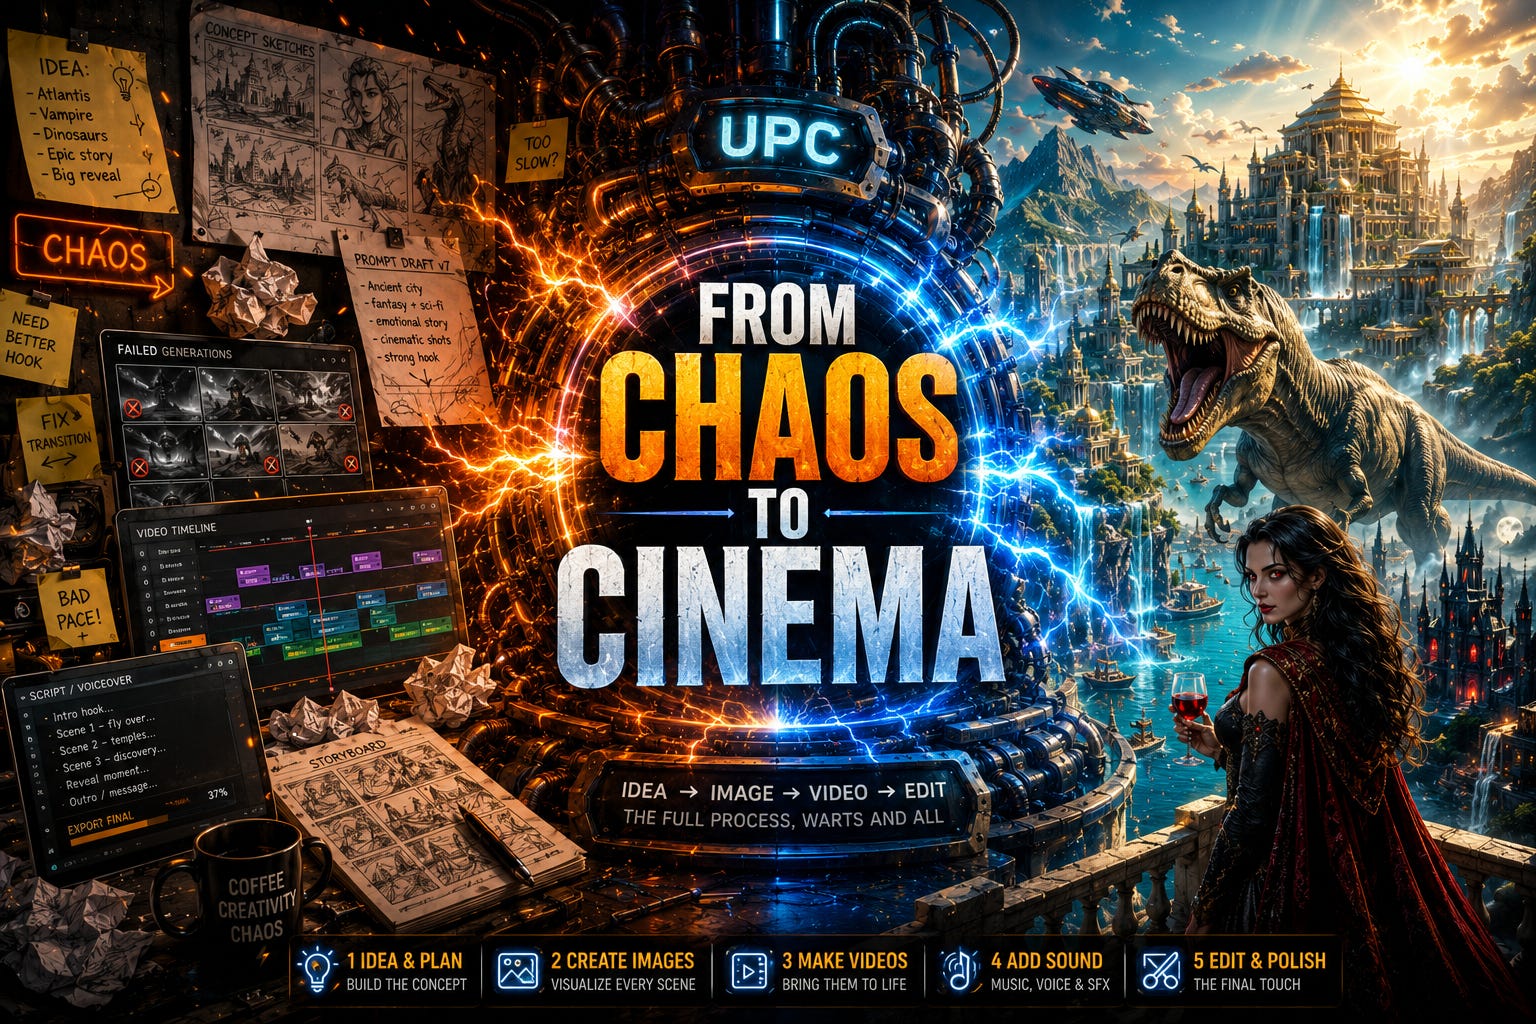
TLDR: You will see how I make AI videos. What I made, how I made it, why I did what I did, tips & tricks, and what could have been done better. I’ll show you everything step by step from beginning to end — including the stuff that didn’t go as planned, so you can learn from it.
Disclaimer: This is a deep dive! If you don’t want to absorb a lot of info right now — feel free to skip this. 👍💪
Use the Ultimate Prompt Creator (free, no signup):
Want access to the UPC Supporter Toolkit?
What We’ll Be Making
This will be the video I’m going to use as the example. But first... I want to give a small sidenote. 😏😋
Creating AI videos is — as with everything — a work in progress. Every day you learn new stuff, and then you start seeing a lot of improvements you could make to your older videos. So at first I was absolutely pumped about this video, and now I see many things that could have been better. Truth be told... I wouldn’t have published these myself because I see too many things that could be improved. And yes, I know the argument that you should post good-but-not-perfect stuff anyway — but that’s easier said than done when you clearly see what’s missing.
However — my father said that if I don’t dare to post these due to “lack of quality,” he would never ever post a video again... and so I just decided to throw this online before the quality gap becomes too big. (Sorry, dear Ego...) 😂😂
Good-but-not-perfect posted beats perfect-but-never-posted. Every time.
So having said that, here are two other AI videos I made around the same time. I won’t be talking about these except for a quick mention here and there. I’m just showing them to give them some purpose lol. (Oh, and yes — the guy runs through the T-rex’s mouth... he has superpowers? 👀🤪)
Building the Setup for Your Idea
To give you an understanding of how this works, here’s the high-level overview of the workflow:
You craft your idea and how you’ll set it up (use the UPC for this — build a prompt that helps you flesh it out properly)
Think about which scenes will be single frames and which need to be beginning-to-end-frame videos
Based on that, start making the images you’ll need
Turn those images into AI videos
Make fitting music
Throw everything into the editor — add the music, voiceover, SFX, and text overlays. Then refine until you’re happy
Don’t let that list intimidate you. You work through it step by step — and it flows way more naturally than it looks on paper. 😉
But before you can even start thinking about the fun part (images and videos)... you need to figure out what you’re actually making. Because just ”about Atlantis” won’t cut it. This is where the UPC comes in. Build a prompt that helps you set up the video properly.
Even if your best idea is ”about Atlantis,” the UPC will help make it really good. The same principle applies if you want to use this for business by the way.
Some things you can think about: (all optional — skip these if they make it too complicated)
Do you need a CTA?
Do you want a voiceover?
Text overlay?
What is the overall purpose of this video?
Should it be fast-paced, or is it educational?
etc.
Now, there are a few things that will really skyrocket the quality of your videos. You can feed these as info into the prompt you build in the UPC — and the UPC will integrate them for you.
Grab the viewer within the first 3–5 seconds — no exceptions
Grab the attention, hold the attention, reward it at the end (reveal, tip, trick, climax, etc.)
It needs to be a purple cow idea — something totally unique
Never be too slow-paced. Attention spans are short; people click away fast
Don’t use too much text overlay — people don’t like reading. Use it to emphasize, not to tell the story
Integrate some kind of story — visual, voice, or both. It makes the viewer more attached, and people love stories
Don’t clickbait the viewer with a false promise — they’ll abandon the video, which will only hurt your channel
etc.
These tips should get you a solid result. 👍💪
You don’t have to use all of these at once by the way. Even applying 2 or 3 of them will already make a noticeable difference.
As for the Atlantis video: I didn’t need a CTA, voiceover, or text overlay — except for ”Welcome to Atlantis.” The main goal was to take the viewer on a visual journey through Atlantis, building up to a reveal of its core.
When you’ve completed this, you’ll have a complete setup of the video from beginning to end. In my case, it was a series of scenes where I guide the viewer through Atlantis with elements that are genuinely attention-grabbing. I won’t describe every scene — I think they’re pretty obvious once you watch it. 😉
(Did you notice I made statues of the founders of Atlantis — Poseidon & Cleito? 😋)
Breaking It Down: Frames & AI Images
Now it’s time to break the video down into images. (Those images will later be turned into short AI videos.) The first thing to ask yourself is: what kind of scenes are these, and how should you approach them?
Separate scenes pasted together? Then you can use single frames
Something that needs consistency and one fluid flow? (Like the Atlantis video) Then you need beginning-to-end frames
One tip I really want to give you — and you can see exactly why in the dinosaur video. If you use beginning-to-end frames, you need to think carefully about where you place your cuts. In the dino video, I wanted the action scenes exactly as I envisioned them — so I made multiple cuts. The result? Those weird pauses during combat. That was a mistake. I should have let those run as one fluid video. Don’t underestimate what AI can do with a good prompt.
So once you’ve sorted that out — it’s time to get into the Image GPT. And honestly... this is where the fun really begins, because this is where your vision starts to take shape! 🔥👀
But this is also where it gets a little more advanced — no worries though, once you understand it, it’s really easy!
All different scenes: Tell the Image GPT what you want — and it spits out the image prompts for you. Do this for every image you need. Tip: tell it what you’re making overall — it helps create images that actually fit the style of your video! 👍💪
Consistent scenes: This takes a bit more thought. The best way to explain it is with visible examples.
Look at the Atlantis video — it’s literally almost completely consistent from start to finish. I started with just one image prompt (the first scene), then simply told ChatGPT to continue the tour based on my vision, in the exact same style the Image GPT established. I kept doing that all the way up to the point where you pass through the energy barrier into the building. The scene with the guards was a fresh new prompt — then continuation until they turn red. Then a new prompt for the stairs, the end room, and the lightning at the end.
The exact same approach applies to the vampire video. The scenes with the woman are all consistent images built from one prompt. The loose scenes in between were made with individual prompts through the Image GPT.
I hope that explains how to approach this part. But regardless — practice makes master! 👍👀
(Seriously, just go do it. Even if it feels chaotic right now, it all sorts itself out along the way. I can tell you that from experience when I made my first video... 😋😂)
Then all that’s left to do is throw the prompts into your favorite image generation tool! If you need consistent scenes, there are multiple tools you can use for that. Personally, I like ChatGPT or Freepik — but there are obviously many other options out there, so do your research and pick what fits you! 🔥😉
Bringing the Images to Life
Now you have all your images — and if you look at them all in the folder, you should already see the skeleton of your AI video. Time to bring them to life in the Image-to-Video GPT! 😁👀🔥
This step is very easy, and the approach depends on whether you’re using single frames or beginning-to-end frames.
Single frames: Upload your image and tell the GPT what should happen — it spits out the AI video prompt for you. If you’re not sure what should happen, you can also ask, and the GPT will help you figure it out. 😉
Beginning-to-end frames: Basically the same principle, but you specify that you want it as a beginning-to-end frame. It’ll spit out the video prompt for you.
Note: It helps to first explain what the video is about overall. It gives the GPT context and produces better prompts. But you don’t have to if you don’t want to.
Once you have all your video prompts, it’s time to generate the videos! There are many platforms available for this — both free and paid. Personally, I use Freepik.AI for this. (It has a lot of functions beyond just images & videos.) Go look for what platform fits best for you.
Whatever platform you use — I highly recommend turning sound generation OFF. It might totally destroy the immersion in your video. Better to turn that off and make the sound yourself for the best results. 👍
Disclaimer!: If you use the free tier of a platform — make sure to check the rules. Not all, but many platforms don’t allow you to earn any form of income with videos made on the free tier. So if you’re planning to monetize — check the commercial use rules first!
Putting It All Together
Now you have all your videos — it’s time to put everything together. You can use many different platforms for this. Personally I use Invideo. You can also do it in Canva or something else. Just upload all your videos and put them in the right order.
And this is actually a good moment to give you a warning. When I saw the soundless videos, I started doubting myself every single time with all three videos — “did I mess this up?” Let me tell you: you didn’t. There is an insanely big difference between a video without sound and one with. Try watching your favorite movie without sound — genuinely messed up, right? 😂 (Little trick from my teacher back in the day to show how important music is.) Sound is the make-or-break of your video. Period.
Now it’s very obvious what comes next after I said that... music & sound effects (SFX). 😋😂
For the music you have two options:
Use generic music from your editing platform — it’ll probably work, though personally I’m not a fan of that. 🤔
As with everything — use AI. Go back into the chat where you built the video setup and ask what music would fit. Then either go into your music software (e.g. Suno or Producer etc) and generate it, or make a prompt with the UPC that’ll give you better music instructions that fit 100% to what you have in mind. Same commercial use rules apply to music, by the way!
Then go back into your editing platform and start crafting it all together — the music, the SFX, the pacing of the AI videos. Do it based on your creativity, or use AI to help you edit it really well. 💪🔥
Keep editing until you’re happy with the end result! 😎
Two tips I want to give here:
- Get the volume balance right. Music, SFX, and audio all need to be balanced. You don’t want the music so loud you can barely hear the SFX — but you also don’t want it so soft it makes zero impact. 😂
- Choose your music carefully. Just because you love a certain track doesn’t mean everyone will. While testing with the dino video, I threw in a relatively hardcore-ish track — loved it. My family did not know how fast to turn off the volume. 😏😂
I can even show you that video. First scroll back up and watch the dino video again. Then come back and watch this one — you’ll know exactly what I mean. (Turn your volume down, just in case. 😋)
Final Tips Before You Go Make Your Video
That’s it! I did my best to walk you through how to make a great AI video — and as I said, keep in mind this is always a work in progress. Don’t expect a perfect result immediately. But before you go off and make yours, here are a few final tips! 💪🔥
If you want to push it even further: Go into the UPC and make a prompt that brutally analyzes your video and gives you areas of improvement. You don’t have to — but it will crack up your quality even more.
STAY ORGANIZED. With my first video I just threw everything into one folder. I genuinely regretted that. 😂 Number and name everything — you’ll thank yourself later. 😏😋
This final tip is more of a personal note. When you finish your first AI video, you’ll be proud as hell — and you should be! But be careful who you show it to for feedback. People who aren’t into your genre won’t see what you see. They don’t see the effort, and their reaction might be really mild — because to them it’s just a short video about something they don’t care about. Don’t let that demotivate you. Someone else might be going absolutely crazy from excitement over what you made! I’d love to see it, for example — feel free to drop it in the comments! 👇😉
Don’t show your first video to someone who doesn’t care about the genre. Their reaction will lie to you.
Use the Ultimate Prompt Creator (free, no signup):
Want access to the UPC Supporter Toolkit?